As forensic video experts, we are regularly asked to enhance the quality of blurry, low-resolution video footage. This, however, can prove to be a very difficult process, and the results often vary from case to case, sometimes drastically. A crucial aspect of viewing every frame of digital evidence is to find that one still-frame — or a series of still frames — that are most clear. In television shows and movies, the video expert can simply click a button and suddenly, the person’s once-blurry face magically morphs into a crystal-clear image! Unfortunately, in real life, enhancement of surveillance video is limited to the quality of the original source; you can’t just magically convert standard resolution video into clear HD video.
However, there are some ways that one can improve a low quality image.
In a recent case that NCAVF worked on out of Russia, our client’s daughter was assaulted on a city street late at night, and the two male suspects were captured on several surveillance video cameras within the proximity of the attack. The amount of footage we received was extensive. However, very little of it was actually useful in making any clear identifications — the footage that is often sent to NCAVF is usually either blurry, pixelated, has slow-frame rates, or is in some other way difficult to see. And this particular footage was no different.
In the grainy, low-quality footage, we could see suspects assault the victim, take the victim’s bag, and then flee the scene to an adjacent street and drive away in a car. Initially, the images looked too blurry to identify the suspect — due to the low resolution of the video system, all we could see was a flesh-colored blur of a face, with darker areas where the eyes and mouth are. We could see that the suspect had dark hair and seemed to have dark facial hair, but that’s about all we could make out from the blurry images.
After pouring through hours of footage, the best sequence of images we were able to find of one of the suspects was these four stills:
These are four still images from original surveillance as delivered to NCAVF. We found the profile of a suspect in four sequential frames. These four frames were then enhanced and combined to create a single, higher resolution frame.
The four still images we selected were revealing, but still did not show enough detail. So we employed a technique that is not widely done in the video forensic world — Frame Averaging.
Also known as Image Averaging, frame averaging allows a forensic video expert to combine multiple frames from a surveillance recording into a single, high resolution image. The way it works: By overlapping several still frames of the same image — usually a face or a license plate — you can combine the image’s information from multiple frames into a single new image with more details and resolution than before.
Using this method, we enhanced, combined and then layered the four stills of the suspect and came up with a single, higher resolution frame:
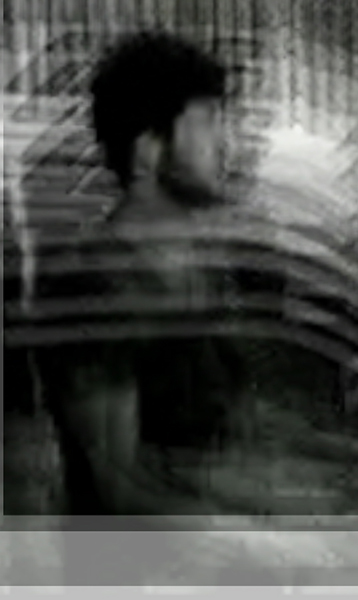
This single image is the result of layering four stills from a surveillance recording and applying the forensic technique call Frame Averaging.
As we take these still images and overlap them on top of each other, making sure to precisely match up the exact contour lines of the head and face, the image can become clearer than just the single image by itself. By doing this, very subtle details emerge that were not visible before, for example, facial features like a mole or a scar. Sometimes all it takes is one key identifying feature in order to track down a suspect and break the case, and frame averaging can prove to be extremely effective at achieving this result.